Want more strategies like this?
Join our free newsletter to get weekly Band 9 frameworks delivered straight to your inbox.
Most IELTS Speaking practice sessions have a fatal flaw: they feel nothing like the real test. You answer a few questions, pause whenever you want, restart when you stumble, and never truly feel that wall of pressure that hits you when the examiner’s timer starts ticking.
That gap between “comfortable practice” and “exam room pressure” is exactly where scores fall apart. I am a verified Band 9 IELTS Speaking scorer — Band 9 across all four criteria — and the single most important thing I did to prepare was learning how to replicate genuine exam conditions at home. In this guide, I’ll show you two methods to do exactly that: one manual approach that costs nothing, and one automated method that delivers the objective data you need to actually improve.
Why “Exam Brain” Is the Real Enemy
The IELTS Speaking test is as much a psychological challenge as a language test. You know the words. You’ve studied the grammar. But the moment the timer starts and the examiner looks at you, your mind goes blank. You forget vocabulary you actually know.
This phenomenon — what I call exam brain — is the feeling of pressure-induced language freeze. The only way to defuse it is exposure. You need to walk into the exam room having already felt that pressure hundreds of times before, so it no longer surprises you.
Both methods below are designed to trigger exam brain in training, so the real test feels like just another practice session.
Method 1: The Manual Simulation
This method requires nothing but a smartphone, a list of questions you’ve never seen before, and strict personal discipline.
The Core Rules (Don’t Break These)
Before you begin, commit to the following:
- Pick random questions. Do not choose topics you like or feel comfortable with. Open a test paper you haven’t seen before and use that.
- No pausing to think. In the real test, the examiner will not give you extra time. Don’t give it to yourself here.
- No restarting. If you stumble mid-sentence, keep going. This is the single rule most people break, and it’s the one that matters most.
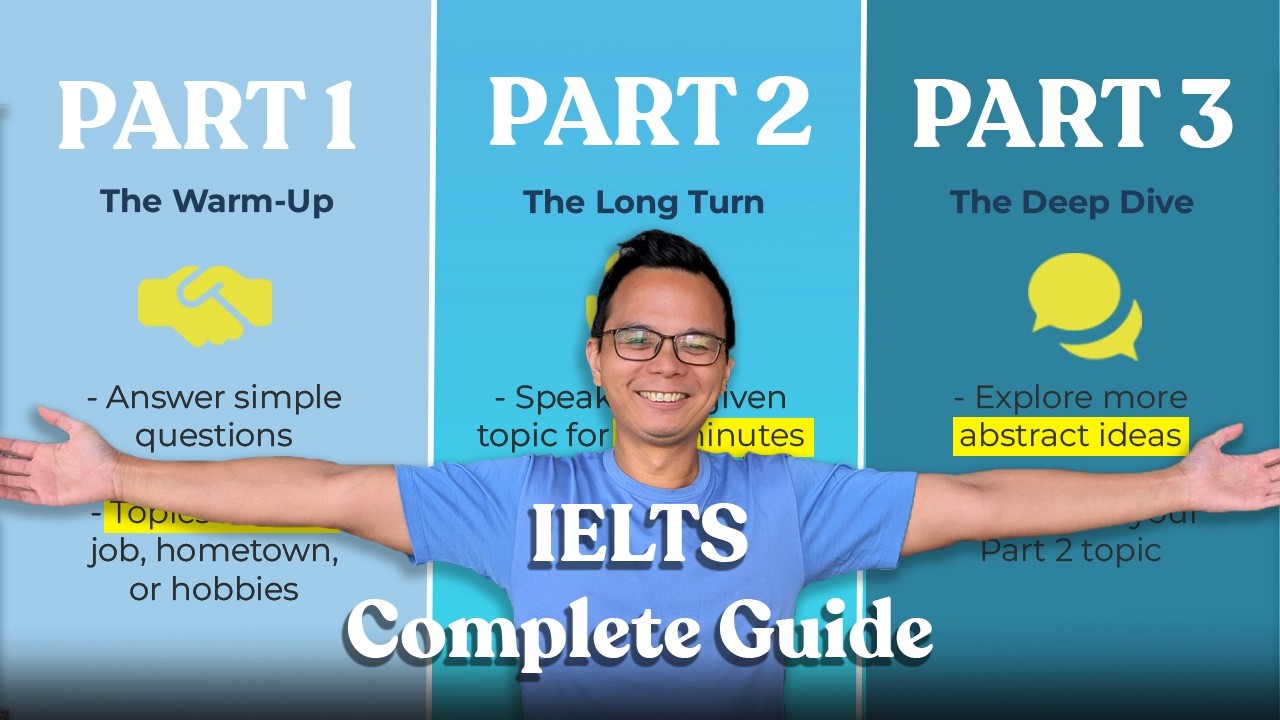
Part 1: The Introduction (4–5 Minutes)
Set a timer for 4 to 5 minutes. Read each Part 1 question out loud and answer it immediately. Your answers should be roughly 20 seconds each — not one word, not a three-minute monologue. Keep the pace natural and conversational.
Part 2: The Long Turn (3 Minutes Total)
This is where the manual method most often fails, because self-discipline is hardest here.
- Set a timer for 1 minute. Read the cue card and write down key words on paper — just as you would in the real exam.
- When the minute ends, set a new timer for 2 full minutes and speak continuously about the topic.
- Do not stop early. If you stop at 30 seconds or 1 minute, you have failed the simulation. Your goal is to keep generating spoken English for the entire two minutes, even if it feels uncomfortable.
Part 3: The Discussion (4–5 Minutes)
Ask yourself abstract, opinion-based questions related to the Part 2 topic and answer them in depth. Each answer should aim for around one minute. Push yourself to elaborate, give reasons, and explore different angles.
After the Recording: Be Your Own Examiner
The full simulation should run 11 to 14 minutes. When you finish, stop the recording — and then listen back to the whole thing.
Ask yourself these questions as you listen:
- Did you hesitate frequently?
- Did you repeat the same word multiple times?
- Did you actually answer the question being asked, or did you drift?
This is where the manual method shows its biggest weakness: it’s entirely subjective. You might think you spoke clearly when an examiner would hear a lack of coherence. You might think your grammar was correct when you were actually repeating the same structures on loop. Without objective data, you’re essentially guessing whether you’re improving.
Method 2: The Automated Simulation
I’ll be direct: this is the method I used personally to achieve my Band 9. I am an introvert. I like systems, I like data, and I was not willing to simply hope I was improving. So I built a tool to remove the guesswork.
The tool is called the SpeakPrac app, and I used it to record hundreds of practice sessions before my actual test.
How It Works Differently
The app acts as your examiner, guided by the frameworks of someone who has actually scored Band 9 across all four criteria. Here is what it handles automatically:
- Random questions for Parts 1, 2, and 3 — no time wasted hunting for fresh material
- Automatic timers for each part, including a pause feature during Part 2 prep time
- Instant transcription of exactly what you said, including hesitations and false starts
The Metrics That Actually Matter
After you finish speaking, the app analyzes your recording and surfaces the data that real examiners use — even if they’re doing it subconsciously:
- Words per minute: If you’re below 120 WPM, you are speaking too slowly for a high band score.
- Pauses per hundred words: Too many pauses signals hesitation and directly damages your Fluency score at Band 7, 8, and 9 level.
- Estimated band score with a clear explanation of why you received that score.
The Feature That Closes the Gap Fastest
The single most powerful feature is this: after your response, the app provides both an improved transcript and an improved audio recording — demonstrating how a high-level Band 9 speaker would express the exact same idea you were trying to say.
This is how you bridge the gap between your current level and Band 9. You are not just told what was wrong. You are shown, concretely, what “right” sounds like — and then you practice until your version matches.
Which Method Should You Use?
| Manual Method | SpeakPrac App | |
|---|---|---|
| Cost | Free | Paid |
| Question sourcing | Manual | Automatic |
| Timer management | Manual | Automatic |
| Feedback | Subjective (self-assessed) | Objective (data-driven) |
| Improvement tracking | Guesswork | Measurable metrics |
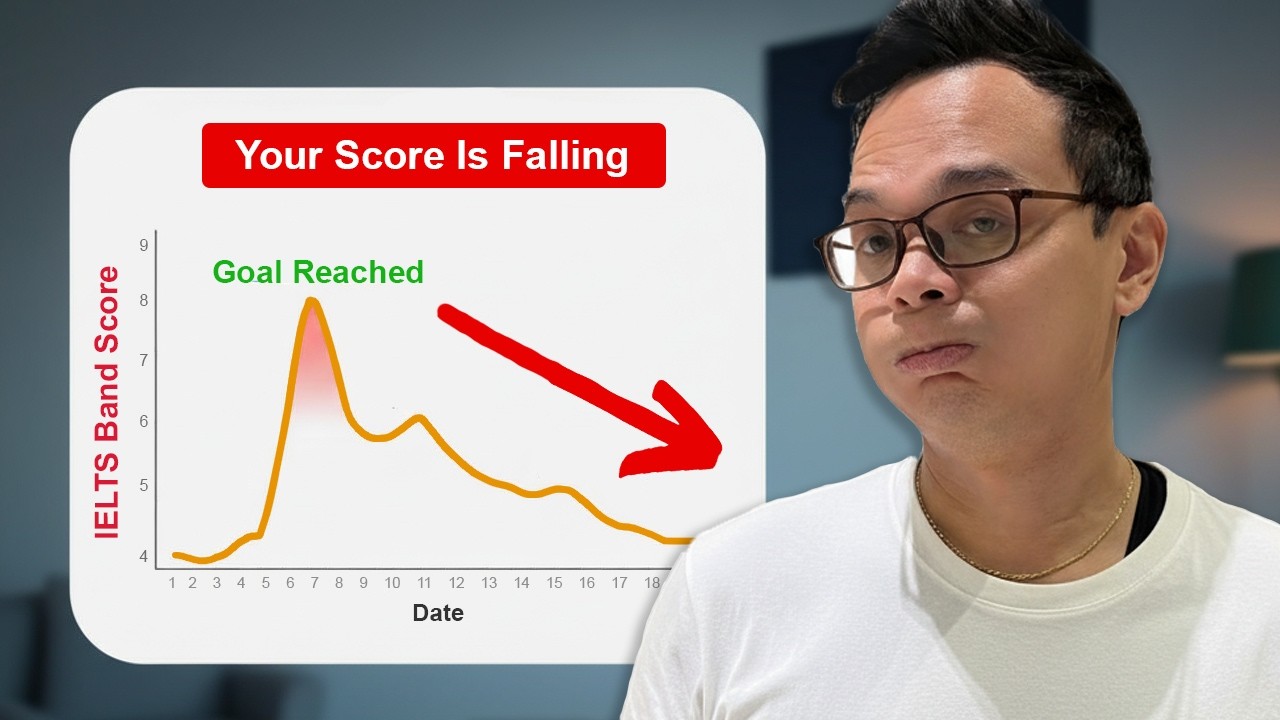
If you are just starting out and want to build the habit of simulating the test, the manual method is a perfectly valid starting point. But if your score has plateaued, or if you want the fastest possible path to a high band, you need objective data. Subjective self-assessment will only get you so far.
The Goal of Every Simulation: Normalize the Pressure
Whether you use the manual method or the app, the underlying goal is identical: make exam conditions feel normal.
When I walked into my IELTS Speaking exam, I wasn’t afraid of the Part 2 cue card. I wasn’t rattled by the timer. I had already experienced both hundreds of times at home. The exam room felt like just another practice session — and that familiarity is what allowed me to perform at my best under real pressure.
Start simulating today. Pick questions you’ve never seen, set your timers, and commit to the rules. The discomfort you feel in practice is exactly the discomfort you are eliminating for exam day.
Ready to take your speaking to the next level?
Apply today's tips in the SpeakPrac app and get instant AI feedback on all 4 IELTS criteria. Or master the fundamentals with my complete, free video course.