Want more strategies like this?
Join our free newsletter to get weekly Band 9 frameworks delivered straight to your inbox.
Most students walk into IELTS Speaking Part 1 thinking it is the easy part. After all, the questions are about familiar topics — your hometown, your hobbies, your job. What could go wrong?
As it turns out, quite a lot. Part 1 has two traps that silently destroy scores at every level. Some students panic and give one-word answers. Others overcorrect and launch into a two-minute philosophical monologue. Both extremes signal to the examiner that you lack control over your own speaking. And without control, your score suffers.
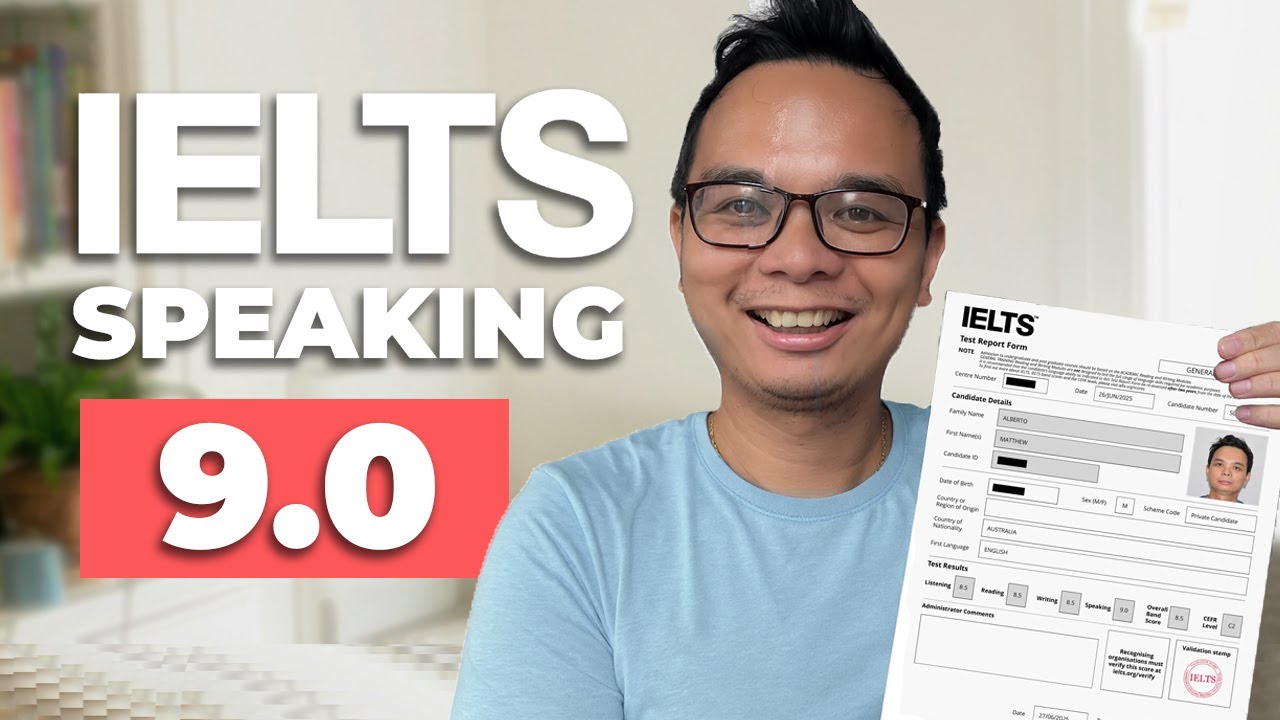
I scored a perfect Band 9 in IELTS Speaking, and I want to share the five techniques that made my Part 1 answers consistently solid. These are not vague motivational tips — they are concrete, actionable strategies you can use in your very next practice session.
Tip 1: Find the Goldilocks Zone
This is the number one problem I see with high-level students. They treat Part 1 as if it is Part 3, answering a simple question about their favourite colour with a deep philosophical debate. Or they fall into the opposite extreme: the one-word wonder trap.
If the examiner asks, “Do you like chocolate?” and you say only “Yes” — that is a one-word wonder. It kills your score because you give the examiner zero evidence of your speaking ability.
But the endless monologue is just as damaging. Speaking for two minutes about your favourite colour, when three sentences would have been perfect, hurts your Fluency score and makes the interaction feel unnatural and awkward.
The Goldilocks Zone for Part 1 is approximately 20 seconds — roughly 2 to 3 sentences.
Your formula is simple: answer the question, expand it slightly, then stop. Not too long, not too short. Just right.
Tip 2: Use the A.R.E. Framework™
Knowing you need 20 seconds is one thing. Knowing what to say in those 20 seconds is another. This is where the A.R.E. Framework™ comes in.
When I prepared for my own IELTS Speaking test, I did not memorise scripted answers. I memorised a structure. The A.R.E. Framework™ stands for:
- A — Answer: Directly answer the question.
- R — Reason: Give one clear reason for your answer.
- E — Example (or Explanation): Back it up with a brief example or go deeper with an explanation.
Here is what this looks like in practice. If the examiner asks, “Do you like your job?”:
- Answer: “Yes, I do enjoy my job…”
- Reason: “…because it allows me to be creative in solving really interesting problems.”
- Example: “For example, just yesterday I worked with a client to design a new layout — it was challenging but really satisfying.”
That is a complete, structured, natural-sounding answer. Every single time you use the A.R.E. Framework™, you will land in the Goldilocks Zone automatically.
Pro tip: You do not always need all three letters. Sometimes just an Answer and a Reason is enough. The framework is your roadmap, not a rigid script.
Tip 3: Mirror the Grammar
This is a subtle technique I used to achieve a Band 9 in Grammatical Range and Accuracy — and most students have never heard of it.
One of the most common moments of panic in Part 1 is the tense question: “Should I use the past simple? The present perfect? The present continuous?” Overthinking grammar in real-time destroys your fluency.
The secret is that the question itself usually contains the tense you need.
- Examiner: “What did you do last weekend?” → Mirror the past simple → “Last weekend, I went to the cinema…”
- Examiner: “How long have you been living in your hometown?” → Mirror the present perfect continuous → “I have been living there for about ten years now…”
You do not need to be a grammar genius. You just need to be a good listener. Mirroring the examiner’s sentence structure does three things at once: it guarantees you start with the correct tense, it buys you a moment of thinking time, and it makes your answer sound more fluent and natural.
Tip 4: Record Yourself and Analyse the Data
You cannot improve what you do not measure.
When I was preparing for my test, I did not just practise in front of the mirror. I recorded myself and listened back. Yes, it is uncomfortable at first — your voice always sounds strange to your own ears. But this step is non-negotiable.
When I used the SpeakPrac app during my own preparation, I was able to spot problems I never would have caught otherwise:
- I was using too many filler sounds (“um”, “ah”) when I hesitated.
- I was speaking too slowly and needed to pick up my pace.
- I was not consistently hitting that 20-second mark.
These are exactly the kinds of issues that examiners notice and that silently drag your Fluency score down. By catching them in practice — before the official test — I was able to fix them.
Practical action: Record your next five Part 1 answers. Listen back and ask yourself two questions: Am I hitting the 20-second Goldilocks Zone? Am I following the A.R.E. Framework™ structure?
Tip 5: Stop Trying to Be Impressive
I know this sounds counterintuitive. You want a high band score, so you think you should stuff your answers with advanced vocabulary like “plethora” and “myriad.”
Please stop.
IELTS Speaking Part 1 is not the place for formal academic language. The topics are casual — your hometown, your hobbies, your family. If you answer a question about your favourite food using the vocabulary of a university dissertation, you will not sound intelligent. You will sound robotic, like you memorised a dictionary.
The examiner in Part 1 is looking for natural communication. They want to see the real you.
When I sat my own IELTS Speaking test, I treated the examiner like a respected colleague — not a judge. I was polite but relaxed. I used:
- Contractions: “I’m” instead of “I am,” “don’t” instead of “do not”
- Natural connectors: “honestly,” “I suppose,” “I guess” instead of “I am of the opinion that”
This natural flow directly improves your scores for both Pronunciation and Fluency. The pressure of the test has a way of turning people into robots. Your job is to resist that pressure and just communicate.
Putting It All Together
Here is a quick summary of all five tips:
- Tip 1 — Goldilocks Zone: Aim for around 20 seconds, or 2 to 3 sentences per answer.
- Tip 2 — A.R.E. Framework™: Structure every answer with an Answer, a Reason, and an Example.
- Tip 3 — Mirror the Grammar: Use the tense from the examiner’s question to start your answer.
- Tip 4 — Record Yourself: Measure your timing, pacing, and use of filler words.
- Tip 5 — Stay Natural: Speak to the examiner like a colleague, not a professor.
Part 1 is not the hardest section of the IELTS Speaking test — but it is often where students give away easy marks. Follow these five tips consistently and your Part 1 answers will become one of your biggest scoring assets.
Ready to take your speaking to the next level?
Apply today's tips in the SpeakPrac app and get instant AI feedback on all 4 IELTS criteria. Or master the fundamentals with my complete, free video course.