Want more strategies like this?
Join our free newsletter to get weekly Band 9 frameworks delivered straight to your inbox.
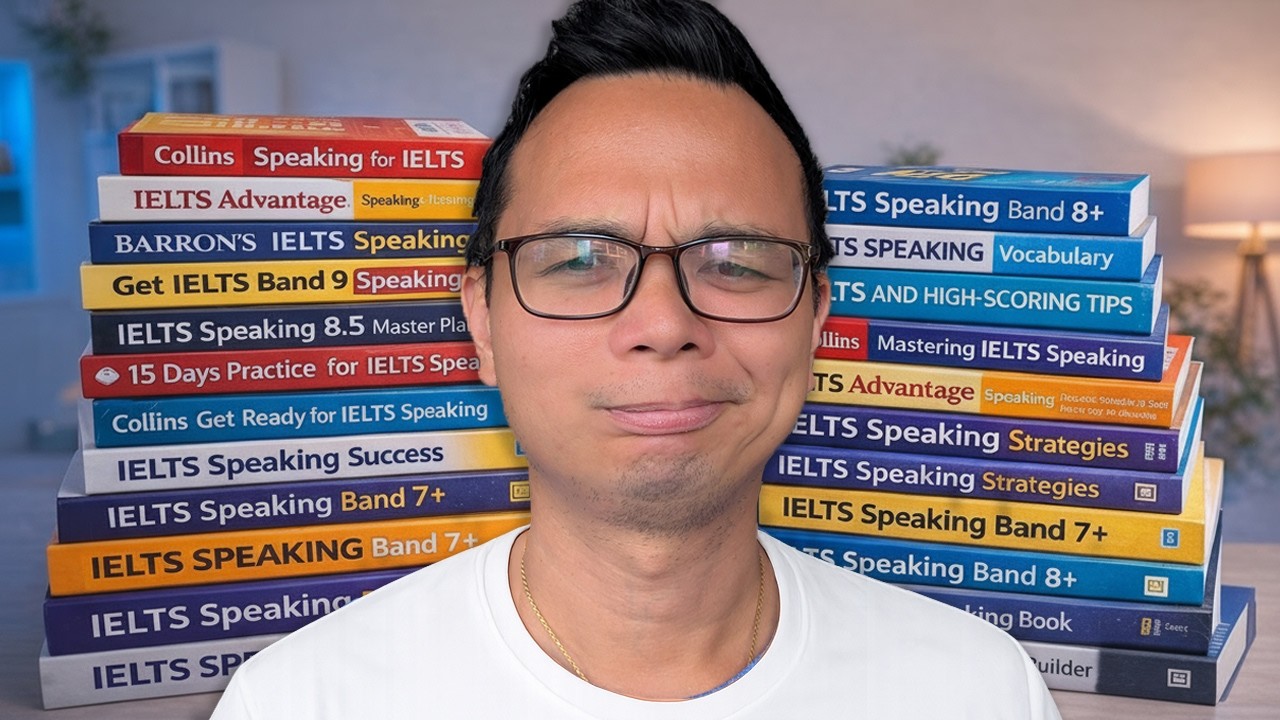
Most students spend weeks drilling Part 2 cue cards and Part 3 abstract questions — and almost zero time on the opening two minutes of the IELTS Speaking test. That is a critical mistake. The way you walk in, greet the examiner, and answer those first foundation questions sets the psychological tone for the entire test.
Here is the uncomfortable truth: the introduction is where most students either build confidence or quietly unravel. The good news is that it is also the most predictable, most controllable part of the entire exam. With the right strategy, you can walk in calm, sound natural from the very first word, and set yourself up for a high band score before the hard questions even arrive.
I achieved a Band 9 in IELTS Speaking — including a Band 9 across all four scoring criteria — and the introduction strategy I used is exactly what I am going to walk you through here.
Phase 1: The Introduction Round (Before the Recording Starts)
I call the first moments in the room the Introduction Round. Technically, the recorder is not yet running and you are not being scored on vocabulary or grammar. But do not let that make you complacent.
You will be subconsciously judged on your demeanour. First impressions have a very real psychological effect on how the examiner perceives you for the rest of the test.
What to Do When You Walk In
Keep it simple and professional. When I walked into my test, I did not try to be charming. I did not attempt to shake the examiner’s hand or make small talk about the weather. I simply:
- Smiled
- Said “Good afternoon”
- Sat down
That’s it. The examiner is working to a strict schedule. Trying too hard to impress at this stage reads as nervous, not confident. Calm professionalism is the highest-status move you can make.
Phase 2: The Identity Check
Once you are seated, the examiner will start the recorder and ask for your full name. This is where I see the first common mistake from students.
The Name Question
“What is your full name?”
Students try to be clever here. They say things like:
“My name is Matthew Alberto, my parents gave me that name because they really liked it, and my friends call me Matt, and you can call me Matt too…”
Do not do this. Just answer the question directly.
✅ Correct: “My full name is Matthew Alberto.”
That is clear, simple, and confident. Nothing more is needed.
The Preferred Name Question
The examiner may then ask:
“What shall I call you?”
This is the only moment where giving your preferred name is appropriate.
✅ “You can call me Matt.”
Handing Over Your ID
“Can I see your identification, please?”
Again — do not turn this into a speaking exercise. Do not narrate the history of your passport. Simply say:
✅ “Sure, here you are.”
Then hand it over, sit quietly, and let them check it.
The entire Introduction Round takes about 30 to 45 seconds. It is not a test of English. Follow the instructions, stay relaxed, and treat it as a purely administrative task.
Phase 3: The Real Introduction — Foundation Topics
After the ID check, the examiner will say something like:
“Now in this first part, I’d like to ask you some questions about yourself.”
Many students panic here because they have been rehearsing for the dreaded “Tell me about yourself” open question. They launch into a memorised biography:
“I was born in a small village, I have two brothers, I like football…”
Stop. The IELTS examiner almost never asks an open-ended question like that.
The Three Foundation Topics
Instead, Part 1 almost always opens with a question about one of three predictable areas:
- Work
- Study
- Hometown
You will hear questions like:
- “Do you work or are you a student?”
- “Let’s talk about where you live.”
This is your real introduction. The key is to sound natural, not scripted.
The A.R.E. Framework™: Your Answer Structure for Part 1
When I was preparing for my Band 9, I developed a simple structure to keep my answers grounded and appropriately detailed. I call it the A.R.E. Framework™:
- A — Answer (directly respond to the question)
- R — Reason (explain why)
- E — Example or Explanation (add a specific detail)
Example: Work or Study Question
“Do you work or are you a student?”
❌ Too short: “I work.” ❌ Too long: A five-minute monologue about your entire career history.
✅ Using the A.R.E. Framework™:
“I’m currently working as a software engineer (Answer). I’ve always been interested in problem-solving* (Reason). I’ve been with my current company for about two years, mostly working on mobile apps* (Example).”*
Three sentences. Clear, natural, fully responsive. That is exactly what the examiner is looking for.
Example: Hometown Question
“Where is your hometown?”
✅ Using the A.R.E. Framework™:
“I’m from Sydney, on the east coast of Australia (Answer). It’s a coastal city well known for its harbour and its beaches* (Reason/Explanation). I’ve actually lived there for most of my life* (Example).”*
A Note on Honesty vs. “Interesting” Answers
A lot of students believe they need to invent an exciting life story to impress the examiner. They think their real life is too boring and that lying will help their band score.
This is completely wrong.
Honesty is not just acceptable — it can actually help you. Consider this answer:
“I’m a student studying accounting. To be honest, I find it a bit dry, but I know it’s a stable career path.”
This single answer demonstrates:
- Complex grammar (concessive structure: “…to be honest, I find it a bit dry, but…“)
- A clear opinion
- A human, authentic voice
That is a genuinely strong answer. You do not need a fascinating life. You need a well-structured, honest response.
Your Introduction Strategy: A Quick Summary
Use this checklist every time you practise:
- Walk in calm and professional — smile, greet simply, sit down
- Treat the ID check as admin — hand it over, no commentary needed
- Listen carefully for the foundation topic — Work, Study, or Hometown
- Use the A.R.E. Framework™ — Answer, Reason, Example
- Keep Part 1 answers to 2–3 sentences — not too short, not a monologue
- Be honest — authenticity sounds better than a rehearsed performance
Practice Makes the Introduction Automatic
When I was preparing for my test, I made sure to record myself answering all three foundation topics repeatedly. I wanted that calm, structured delivery to feel completely automatic on exam day — not something I had to think about under pressure.
I actually built the SpeakPrac app specifically to help with this kind of focused, solo practice. You can record your answers, get instant AI-powered feedback, and drill the A.R.E. Framework™ until it becomes second nature. Check the link in the description or scan the QR code on screen.
Once you have your introduction locked down, the real challenge begins: random Part 1 topics — and then the deeper Part 2 and Part 3 questions where students often feel overwhelmed. I cover exactly how to handle those in some of my other articles on this website.
Ready to take your speaking to the next level?
Apply today's tips in the SpeakPrac app and get instant AI feedback on all 4 IELTS criteria. Or master the fundamentals with my complete, free video course.